Mega Side Imaging Settings
Side Imaging Tutorial Plus Tips And Tricks Sonar Wars

Humminbird Helix Mega G2n Settings Updates In Descripyion Below Youtube
Side Imaging Tricks To Actually See Fish Youtube

Humminbird Mega Tutorial Getting The Clearest Side Imaging Settings Part 2 Youtube
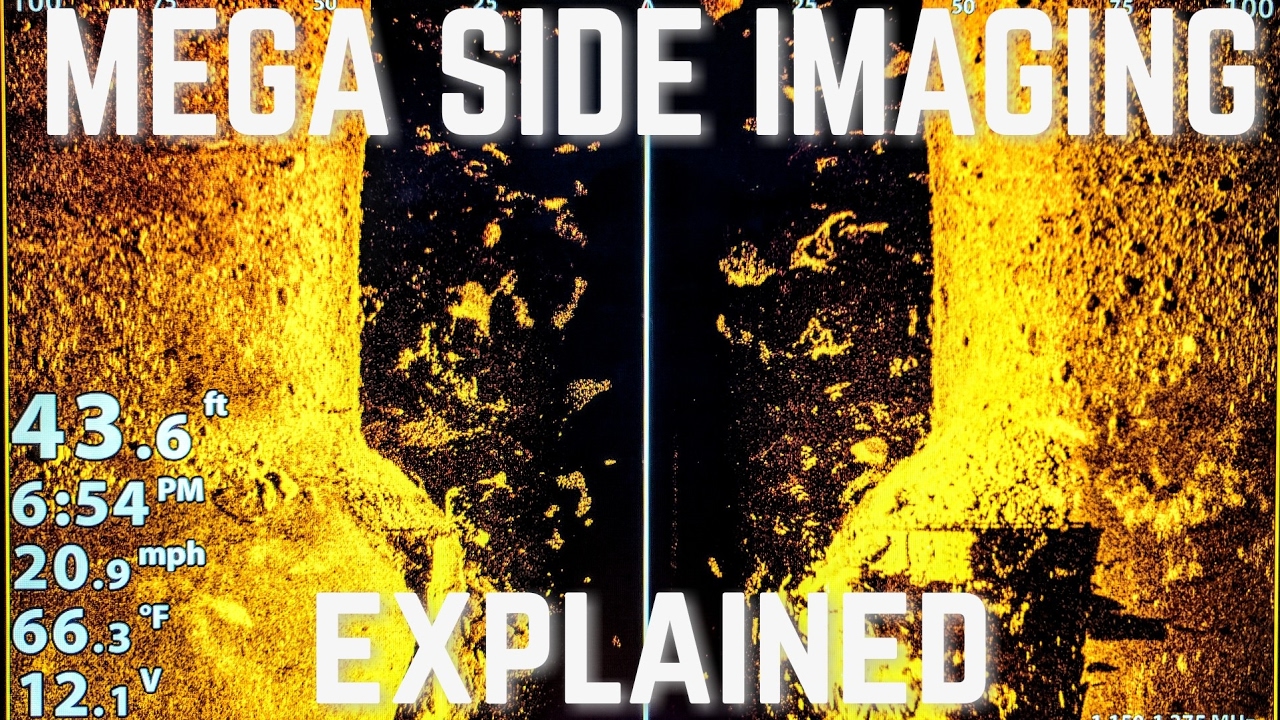
Humminbird Mega Side Imaging Explained Youtube

Tips N Tricks 200 Humminbird Solix Start Up Tips For Imaging Sonar Mapping Part 2 Youtube

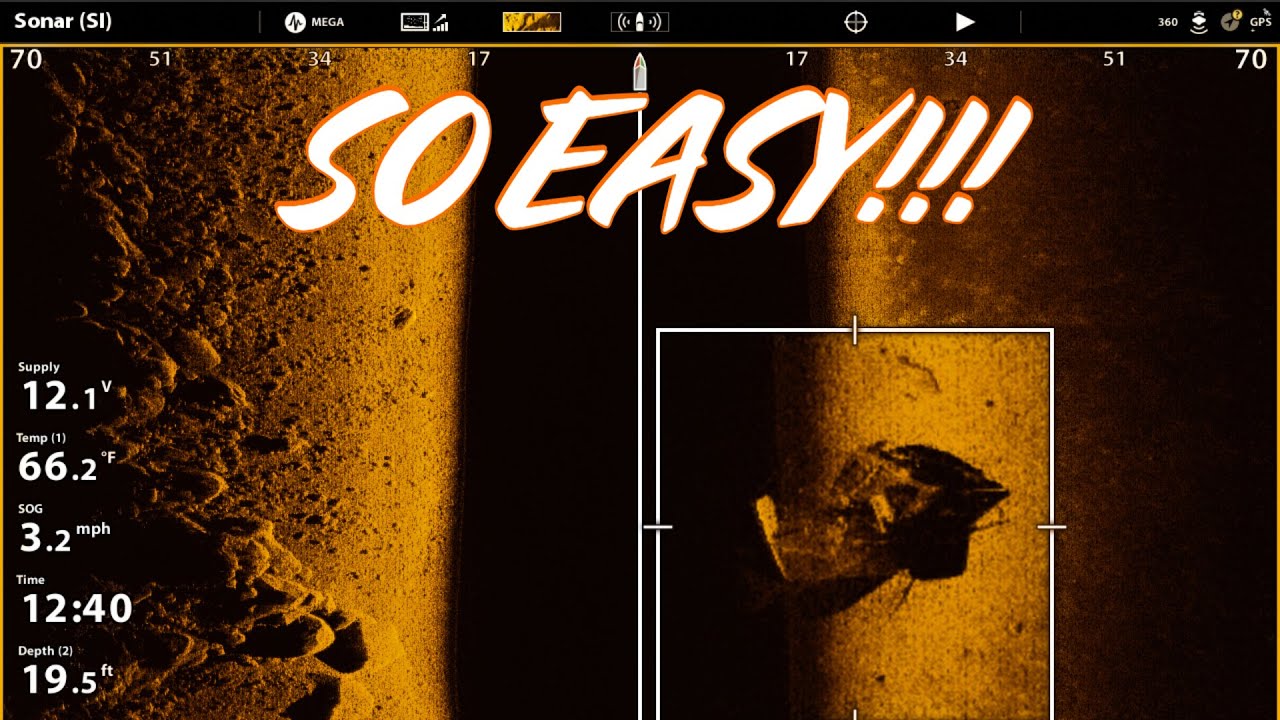
In this episode of slime quest tv i do a hummingbird helix side imaging tutorial on settings contrast sharpness and also how to get your transducer level.
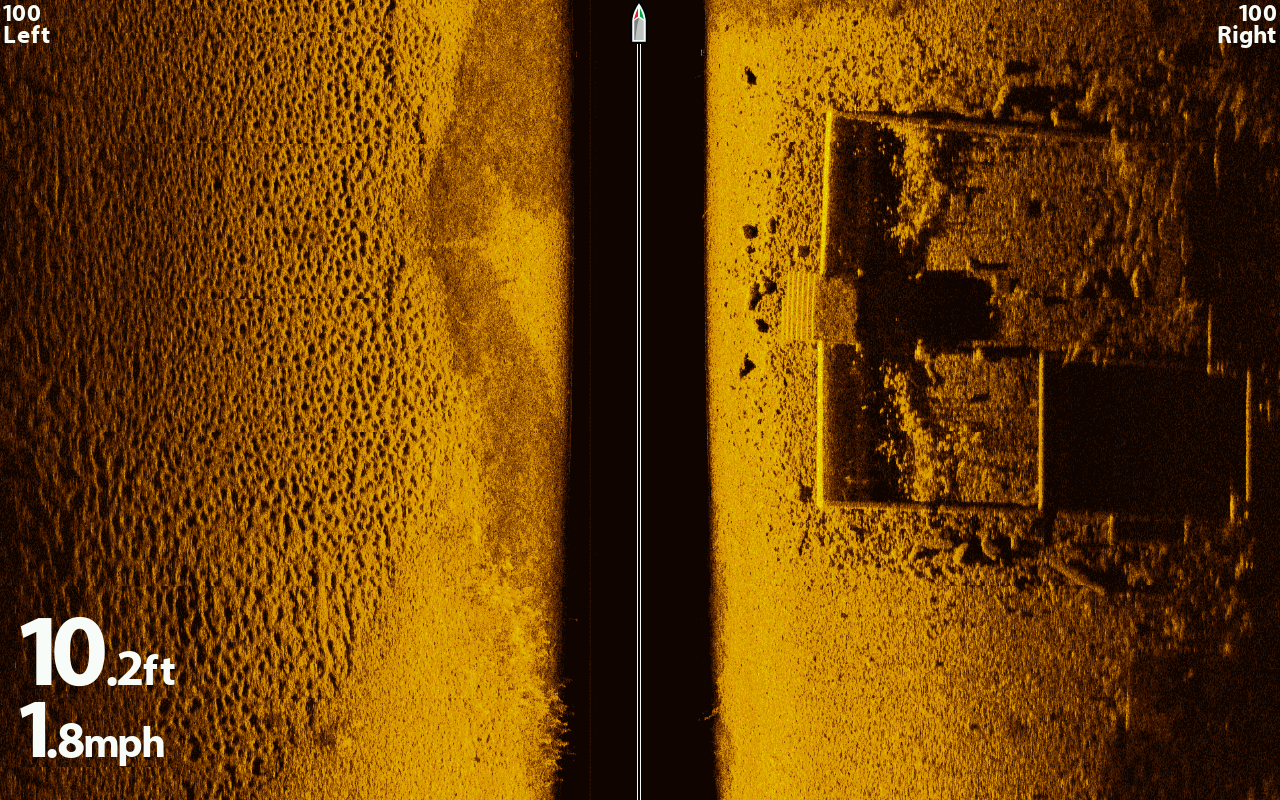
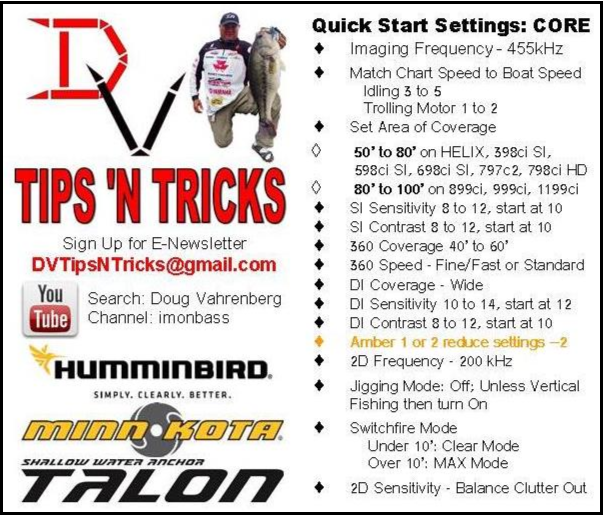
Mega side imaging settings.

Humminbird Side Imaging Best Tutorial Helix Settings Explained On And Off The Water Youtube

Humminbird Side Imaging Basic Settings Fish Finder Settings Side Imaging Youtube

Mega Down Imaging The Technological Angler Youtube

Catch More Walleye With Side Imaging Down Imaging Sonar Youtube

Tips N Tricks 182 Humminbird Helix G2n Mega Imaging Youtube

Tips N Tricks 234 Humminbird Helix G3n Mega Imaging Plus Youtube

How To See Fish On Structure Scan Proper Side Scan Adjustment Simrad Lowrance Team Old School Youtube
Humminbird Helix 10 Mega Chirp Side Imaging G2 Ohio Game Fishing Your Ohio Fishing Resource

What Is Side Imaging And How To Read It Humminbird Youtube
Best Side Imaging Scan Fish Finder 2020 Don T Buy Until You Read
Helix 9 Si Gps Transducer And Settings Question

Humminbird Mega Tutorial Getting The Clearest Side Imaging Picture Part 1 Youtube
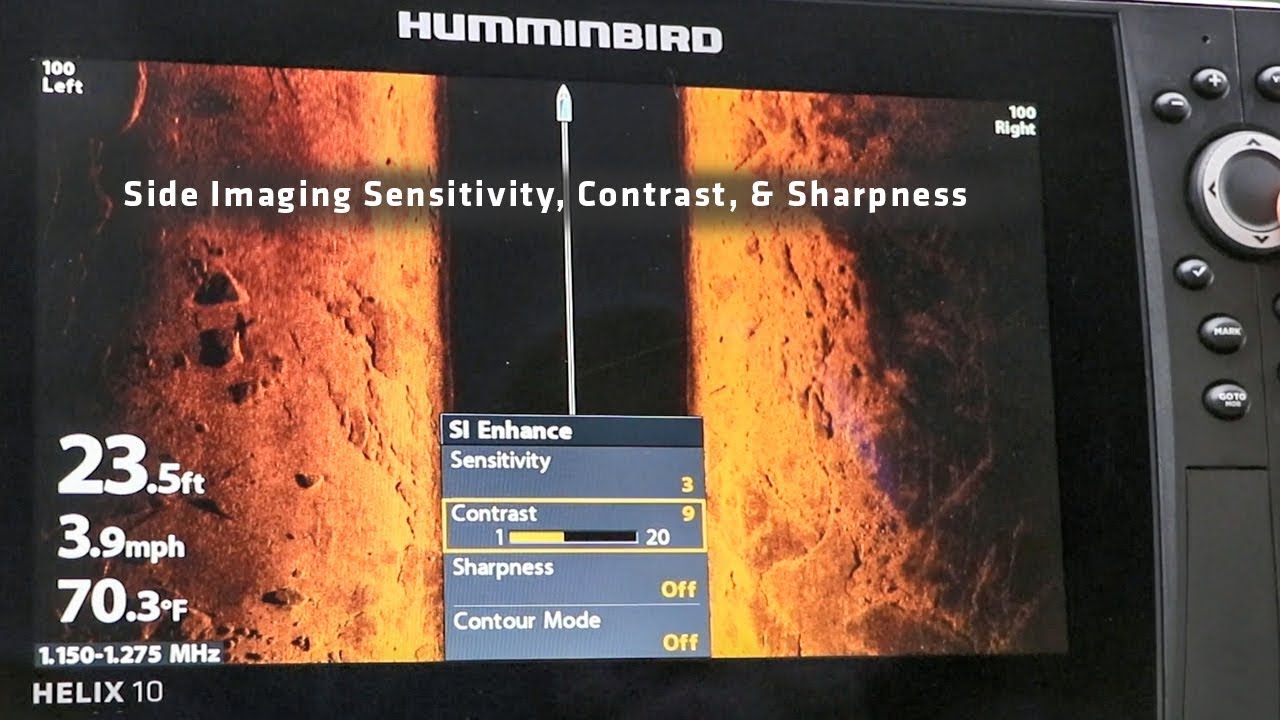
Humminbird Helix How To Adjust Side Imaging Contrast Sensitivity And Sharpness Youtube

Humminbird Helix How To View Range Lines On Side Imaging Youtube

Humminbird Mega Side Imaging Easy Set Up Identifying Fish Structure Youtube

Side Imaging Tricks To Actually See Fish Youtube

3 Side Imaging Fish Finder Tips For Better Images And Finding More Fish Youtube

What Do Fish Look Like On Different Sonar Technologies Humminbird Youtube
Https Encrypted Tbn0 Gstatic Com Images Q Tbn 3aand9gcsgjmbetkfquh L2okbwo7loux8i5 Bwddu3n6yteztgrfclyb Usqp Cau

Helix 7 Chirp Mega Si Gps G3n Humminbird

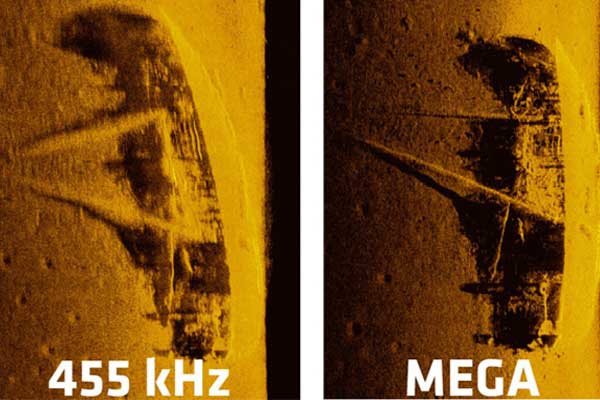
Humminbird Side Imaging Frequency Tutorial Mega Vs 800khz Vs 455khz Youtube

17 Best Settings To Find Bass On Fish Finder Sonar Setup Lowrance Humminbird Garmin Youtube Fish Finder Humminbird Finder

Humminbird Helix Best Setup And Settings Youtube

Humminbird Helix How To Adjust Side Imaging Range Shortcut X Press Youtube
Source : pinterest.com
